Thursday, October 28, 2010

Woodrow's First Steps

Growing bored of working with wheels, I decided my next robot project should be a biped. This is much more challenging, but also much cooler. I started looking at different robot kits online and quickly came to the conclusion that they're all really expensive, like hundreds of dollars of expensive.. The one I liked most as a starter project was Lynxmotion's BRAT Jr.

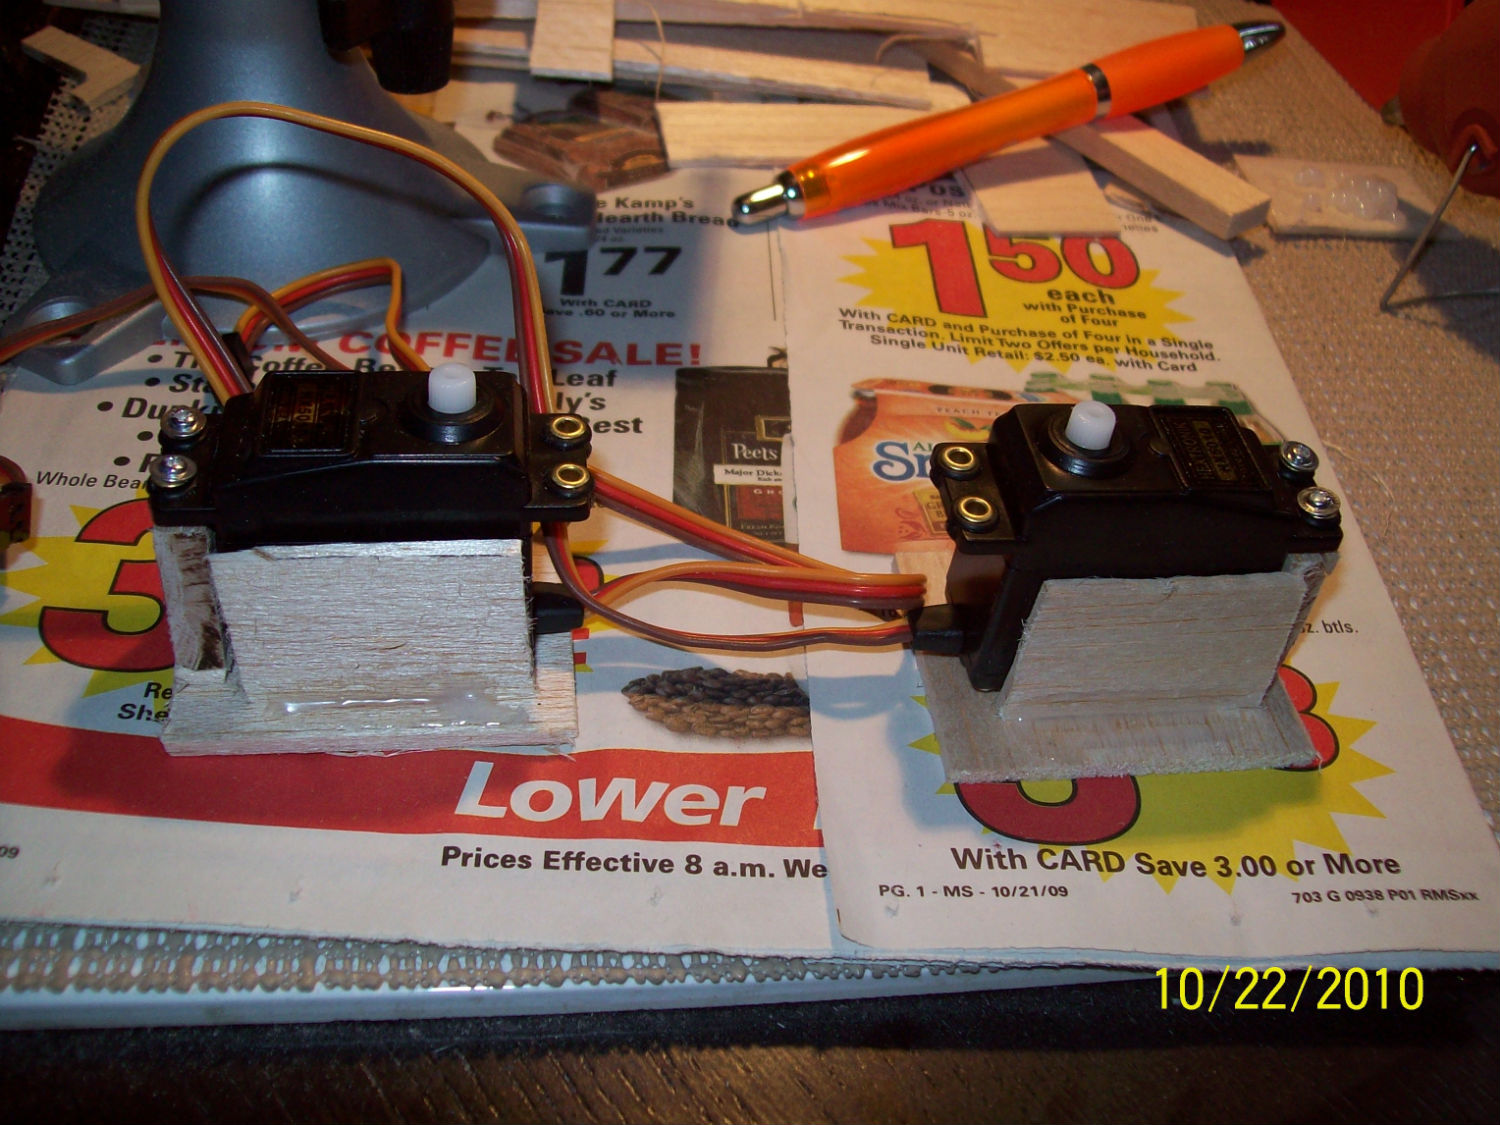
They no longer sell the Jr though, and the regular BRAT costs a little over $300 bucks for the full kit, and still $200 just for the motors and hardware without the microcontroller and board. It comes with 6 servos that go for around $12 bucks each, so if you were to remove the costs of the servos, that's still over $100 bucks just for the metal and screws! I just feel like that's a rip off and didn't feel like buying the kit (at least not for now..). I decided that I would try to build my own replica of the BRAT Jr. using my arduino for the brains and cheapo balsa wood and hot glue. Not only is it a lot cheaper, but it looks pretty cool to have a wooden robot.  Here are some pics of the building process, keep in mind this is my first time ever doing anything like this..


It's definitely far from perfect, but it's a good start.  I built a basic walking program from scratch and after a little tweaking, I am able to get him to move forward successfully, though quite awkwardly.  It's ok, he's just learning how to walk and will hopefully improve with time and practice (and me fixing the code and adjusting the body).

Friday, October 8, 2010

Donuts the Drone

I decided to use a different base for the robot when I saw Walmart had cheap RC cars for about $10. I bought one of those, ripped the plastic top off of it, unhooked the motor wires, placed my Arduino and breadboard on top of it, and hooked the motor wires up to the H-bridge. This worked very well, all I had to do was change some code because now instead of using differential drive with 2 wheels, I was using rack and pinion steering with 4 wheels. This body is sturdier with better weight distribution, and with 4 wheels, it drives much better. A body, 4 wheels, and 2 motors for $10 bucks, not bad! Besides this reworking, I also fitted a servo motor with a wireless cam fastened on top. Using VLC, I am able to stream the live video feed from the camera onto my network. Using the VideoView control from the Android SDK, I am able to view this feed from my Droid while controlling the robot. Unfortunately, there's about a 5 second latency on the video stream on the Droid that I haven't been able to solve as of yet. I've been unable to find a solution to the problem, though others have experienced this grief as well. Anyhow, these major cosmetic changes to the robot warrant a new name for it. This new robot is named "Donuts", again thanks to Erin =)

**UPDATE** Since so many people have asked me for the code, I am sharing the Arduino and Android code here. The Arduino code is based on some older code that wasn't cleaned up so it's messy. Also, this was a good resource for me to learn how to get my Android app communicating with my Arduino via bluetooth. Thanks to all who have left comments, good luck on your projects!